
What's on this page
- Where your electric bill actually goes
- Before you start
- Step 1: Read your bill and find your rate
- Step 2: Tackle heating and cooling first
- Step 3: Fix your thermostat habits
- Step 4: Cut water heating and laundry costs
- Step 5: Kill phantom loads and switch to LED
- Step 6: Tame the fridge and always-on appliances
- Step 7: Shift usage to off-peak hours
- Step 8: Seal and insulate for the durable fix
- A worked example: cutting one household’s bill
- Common mistakes that keep your bill high
- Troubleshooting: when the usual fixes fall short
- Your bill-cutting checklist
- The bottom line
Short answer: Lower your electric bill by working biggest load first. Heating and cooling is commonly near 45 percent of a home's bill, so thermostat setbacks return more than any small load will. Find your all-in rate by dividing bill dollars by kilowatt-hours, then stack the free levers: cold-water laundry, unplugging a second fridge, and switching off idle electronics. A realistic combined target is roughly 10 to 20 percent, about $22 a month on a $144 bill.
An electric bill feels like weather: something that happens to you, arrives once a month, and lands wherever it lands. It is not. A home’s electricity use is a stack of separate loads you can see, price, and change one at a time, and a surprisingly small set of moves accounts for most of what you can save. The trick is to work in the right order, biggest load first, and to know your own numbers before you touch anything.
These notes give you that order as eight concrete steps, from reading your bill to sealing the drafts that make your heating and cooling work harder than they should. Each step comes with an illustrative dollar figure so you can see roughly where it ranks, a plain description of how to do it, and a caveat so you do not chase a saving that is not there. For the running-cost detail behind individual appliances, we point you to our sibling reports along the way, including our air conditioner running-cost report for the load that usually dominates the bill. Feed your own monthly kilowatt-hours and rate into our cost-per-use calculator as you read and watch the target savings move.
Key takeaways
- Work biggest load first: heating and cooling is commonly near 45 percent of a home's bill, so a small change there beats a big change to a tiny load.
- Find your all-in rate before anything else: total bill dollars divided by kilowatt-hours used. Every saving here scales with that number.
- A realistic combined target is roughly 10 to 20 percent, stacked from several habits. On an illustrative $144 bill, 15 percent is about $22 a month.
- The cheapest levers are free: thermostat setbacks, cold-water laundry, unplugging a second fridge, and grouping idle electronics on a switchable strip.
- The one mistake to avoid: chasing phantom chargers while ignoring the thermostat. Watts times hours is where the real money is.
Where your electric bill actually goes
Before you cut anything, look at where the money goes, because the shape of the bill decides the order of your work. A home’s electricity splits into a few big buckets and a long tail of small ones. The exact mix depends on your climate, your heating fuel, and how many always-on machines you run, but a common illustrative breakdown for a home with electric cooling looks roughly like this, expressed as slices of an illustrative $144 monthly bill at a typical $0.16 per kilowatt-hour.
Where a typical electric bill goes
Illustrative shares of a $144 monthly bill. Bars scale with the dollar slice. Your mix varies by climate and fuel.
The single fat bar is heating and cooling. That is why the steps below start there and treat the small bars as cleanup, not headline savings.
The lesson of the chart is the whole strategy in one picture. One bar, heating and cooling, is longer than any other, so a modest percentage cut there returns more real dollars than eliminating a small bar entirely. Water heating and the always-on appliances form a solid middle tier worth real attention. Lighting and standby power are the short bars: worth capturing, never worth obsessing over while the long bar goes untouched. The steps that follow walk down the chart from the fattest slice to the thinnest, which is the order that puts the most money back in your pocket for the least effort. Your own bill may weight these differently, especially if you heat with electricity, so treat the shares as a map rather than a measurement and confirm them against your own usage.
Before you start
This is a habits-and-tune-up project, not a renovation, and most of it costs nothing. You can complete the reading and the free adjustments in about an hour, then let the durable fixes follow over weeks. Gather three things before you begin so every number you work with is your own rather than an illustrative stand-in.
- A recent electricity bill, ideally the most recent, plus one from the same month a year ago if you can find it for comparison.
- Your rate, which you will pull off that bill in the next step. If your utility uses tiered or time-of-use pricing, note that too.
- A rough sense of your appliances: what heats and cools the home, how old the refrigerator is, whether a second fridge or freezer runs somewhere, and whether the water heater and heat are electric or gas.
A phone, a calculator, and ten quiet minutes are all the equipment required for the free steps. The paid steps, a smart thermostat or weatherstripping, are optional and can wait until you have proven the free ones. Difficulty is low throughout: nothing here asks you to open an electrical panel or touch wiring, and anything that would, such as a circuit question or a heating-system change, is explicitly handed off to a professional. With the bill in front of you, start at the top of the chart.
Step 1: Read your bill and find your rate
Everything downstream depends on one number: what a single kilowatt-hour actually costs you. Find it before you change a thing, because a saving of any size is meaningless until it is priced. Your bill shows a rate in cents per kilowatt-hour, but it is often split into a supply or generation charge and a separate delivery or distribution charge, and there may be fixed monthly fees on top. The figure that matters for planning is the all-in rate.
To get it, take the total dollar amount of the bill and divide it by the total kilowatt-hours you used that month. On our illustrative household, that is $144 divided by 900 kilowatt-hours, which lands at $0.16 per kilowatt-hour, folding every fee into one honest number. That all-in figure is usually a little higher than the headline supply rate, and it is the one to carry into every later step. While you have the bill open, note your monthly kilowatt-hours, since that total is what you are trying to shrink, and glance at whether your usage or your rate is what changed from last year.
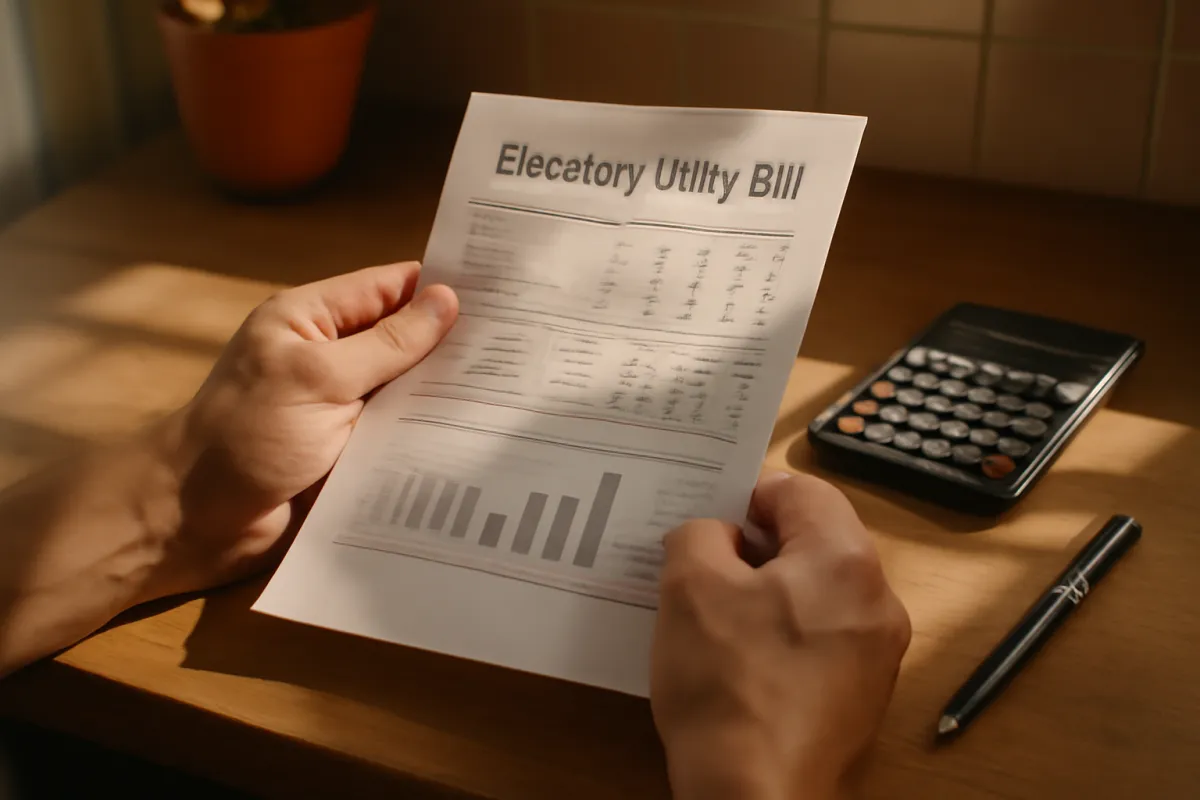
Watch out for two wrinkles. First, tiered rates charge more per kilowatt-hour above a monthly threshold, so your marginal saving from using less can be worth more than your average rate suggests. Second, time-of-use plans price electricity differently by hour, which changes the math in Step 7. If your bill is confusing, most utilities publish a rate schedule that explains the structure. Enter your kilowatt-hours and your rate into the cost-per-use calculator now, so the current-bill figure it shows is genuinely yours before you start cutting.
Step 2: Tackle heating and cooling first
Heating and cooling is the long bar on the chart, commonly near 45 percent of the bill, so this is where the real money is and where you start. The cost of running a heating or cooling system is its power draw times the hours it runs, so the two ways to cut it are to make it draw less or run fewer hours. The hours are the lever you control today at no cost.
The single most effective free move is to shift the thermostat a few degrees toward the outdoor temperature: warmer in cooling season, cooler in heating season. A commonly cited rule of thumb is that each degree is worth roughly 3 percent of that system’s running cost. On the illustrative $65 slice that heating and cooling represents, a few degrees can trim several dollars a month, illustratively, with the exact figure depending on your climate and equipment. Alongside the setpoint, cut the load itself: close blinds against the summer sun, open the house to cool night air, and use fans, which cool people rather than rooms, to feel comfortable at a higher setpoint.
For the full watts-to-dollars breakdown of the load that usually dominates a summer bill, our air conditioner running-cost report works the arithmetic per hour, per day, and per month. Watch out for the temptation to over-cool or over-heat and then fix it with a fancier appliance. A high-efficiency system that runs the same excessive hours still costs more than a modest one run with discipline. Get the hours and the setpoint right first, then judge equipment. If you heat with electric resistance, this bar is even fatter and this step matters even more.
Step 3: Fix your thermostat habits
Step 2 sets the temperature; this step controls the clock. The largest waste in most homes is heating or cooling an empty house or a sleeping one to the same temperature demanded when everyone is awake and present. A setback, letting the house drift several degrees while nobody benefits, cuts the hours your system runs without anyone feeling it.
Set the system back during two reliable windows: the workday, when the house is empty, and overnight, when everyone is under blankets. Even a modest setback of a few degrees for eight hours a day removes a meaningful share of the running hours, and because each degree-hour tracks straight into kilowatt-hours, it flows straight to the bill. Stacked on the setpoint change from Step 2, disciplined setbacks are commonly where the bulk of an HVAC saving comes from, an illustrative few dollars a month on our example, at no cost. A programmable or smart thermostat simply automates the schedule so you never forget the pre-departure and bedtime adjustments.
Watch out for two things. First, the payback on hardware is not automatic: a smart thermostat is an illustrative $100 to $250, and if you already set back the temperature by hand, the device saves convenience more than cash. Price it against how much heating and cooling you actually run. Second, if you have a heat pump, deep setbacks can trigger inefficient backup heat on recovery, so use the shallower, heat-pump-aware setback the manufacturer recommends rather than a steep one. The goal is fewer running hours at full effort, not a house that has to fight its way back from cold every afternoon.
Step 4: Cut water heating and laundry costs
Water heating is the next bar down, commonly near 14 percent of the bill, an illustrative $20 a month on our example, and it responds to a few painless changes. The tank spends energy keeping a reservoir hot around the clock and reheating whatever you draw off, so the levers are the storage temperature, the volume you use, and how often you heat water you did not need to.
Start with the thermostat on the tank. A widely cited guideline sets an electric water heater around 120 degrees Fahrenheit: warm enough for comfort, generally recommended to limit harmful bacteria, and low enough to avoid the waste of superheating water you then temper with cold. Do not drop below that guideline chasing savings, because storage temperature is a health matter, not just a cost one. Next, shrink the volume: shorter showers and a low-flow showerhead cut the hot water you draw, and washing laundry in cold water removes water heating from the wash almost entirely, since heating the water is the large majority of a washer’s energy.
Laundry is where water heating and the dryer meet. Run full loads rather than half ones, wash cold, and remember that the dryer is its own sizable load; our dryer running-cost report prices a load at roughly $0.48 at a typical rate, so drying on lower heat, cleaning the lint filter, and line-drying when you can each trim the total. Watch out for the false economy of very hot short showers or half-empty hot washes: the water heater does not care about your intentions, only about the gallons and the degrees. Insulating an older tank and the first few feet of hot pipe is a cheap durable add-on if the tank is warm to the touch.
Step 5: Kill phantom loads and switch to LED
Now the short bars. Standby or phantom power, the trickle devices pull while off or idle, is real but modest, commonly cited around 5 to 10 percent of a home’s electricity spread across dozens of tiny draws. Because it is diffuse, the win is not hunting down a single culprit but cutting a cluster at once. Group the always-idle electronics that live together, a television with its console, soundbar, and streaming boxes, or a desk with a monitor, printer, and chargers, onto a single switchable power strip and flip it off when the cluster is not in use.
Lighting is the other short bar, an illustrative $13 a month, and it is the cleanest swap on the list. A traditional incandescent bulb turns most of its energy into heat; an LED producing the same light uses roughly a fifth to a sixth of the power. Replacing a 60-watt incandescent with a 9-watt LED saves about 51 watts per bulb while it burns. Run four such bulbs five hours a day and that is roughly 30 kilowatt-hours a month, an illustrative $5 or so at a typical rate, and the LEDs last for years. Change the bulbs you use most first, since a bulb that burns many hours repays the swap fastest.
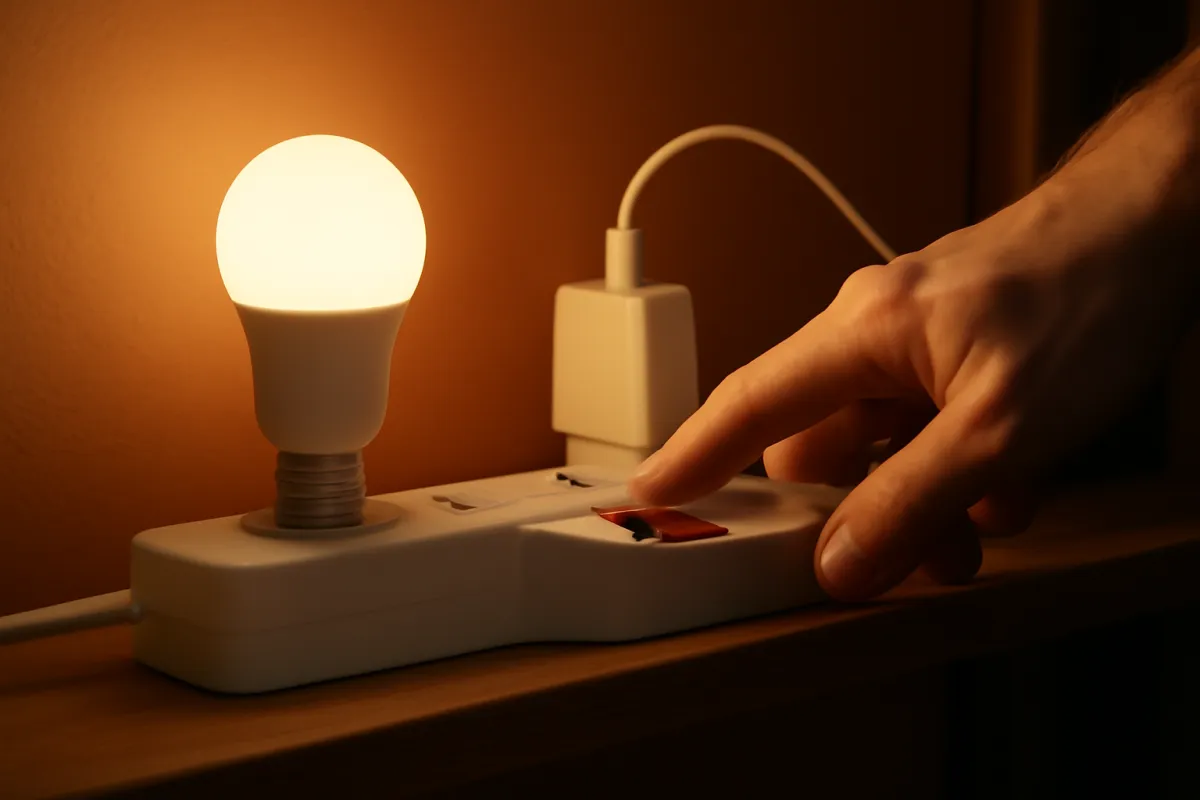
Watch out for the trap of over-indexing on this step. The satisfying click of a power strip and the tidy logic of LED math make standby and lighting feel like the heart of the problem, but together they are short bars. Capture them, then move on. A single evening spent unplugging a phone charger that draws a fraction of a watt is time better spent on the thermostat. The rule holds: watts times hours decides everything, and the biggest watt-hour totals live upstairs in the heating, cooling, and water-heating bars, not in the charger by the bed.
Step 6: Tame the fridge and always-on appliances
The refrigerator is the quiet middle bar, an illustrative $19 a month, and it earns its own step because it never switches off. Anything that runs every hour of every day rewards a small tune-up, because that saving also compounds around the clock. Start with the settings: a fridge around 37 degrees Fahrenheit and a freezer near 0 degrees are commonly cited targets, and a fridge set colder than it needs to be simply pays for cooling it does not use. Keep the coils clear of dust so the compressor is not fighting its own trapped heat, and check the door seals, since a weak gasket lets cold leak and the compressor run longer.
The bigger prize is often a second refrigerator or a chest freezer, frequently an old one exiled to a garage. An aging second unit can use on the order of 1,000 kilowatt-hours a year, an illustrative $13 a month at a typical rate, to keep a few drinks cold. For the full breakdown of what a fridge costs and when an old one is worth replacing, our refrigerator running-cost report does the arithmetic. If you do not truly need the second unit, unplugging it is one of the largest single-move savings available, and it takes seconds.
Watch out for the assumption that a new efficient fridge will pay for itself quickly. Modern units are already near the efficiency floor, so replacing a merely middle-aged fridge rarely repays the purchase on energy alone; the calculation only turns favorable for genuinely old or oversized units, or for retiring a redundant second one entirely. Judge it on the yearly saving against the price, not on the appeal of a new machine. The same holds for other always-on loads, from a wine fridge to an old cable box: price the running cost of anything that never sleeps. Not every around-the-clock appliance is a villain, though. A HEPA air purifier draws only 10 to 50 watts, a couple of dollars a month, and our look at whether an air purifier is worth it shows its real cost lives in the filters, not the meter.
Step 7: Shift usage to off-peak hours
This step only applies if your utility puts you on a time-of-use rate, so confirm that from Step 1 first. On a flat rate, when you use electricity does not change the price, and you can skip ahead. On a time-of-use plan, the same kilowatt-hour costs more during peak afternoon and early-evening hours and less overnight and midday, sometimes by a wide margin, which turns timing into a lever without cutting your usage at all.
The move is to shift the flexible loads out of the peak window. Run the dishwasher on a delay start overnight, do laundry in off-peak hours, charge an electric vehicle after the peak ends, and, if you cool the home, pre-cool it during the cheaper period so the system coasts through the expensive one. As an illustration, moving 100 kilowatt-hours of flexible use from a peak price near $0.30 to an off-peak price near $0.10 would save around $20 on those particular kilowatt-hours; a typical household’s shiftable slice is smaller, so treat an illustrative few dollars a month as the planning figure and confirm the gap on your own plan. The saving is entirely a function of how wide your peak-to-off-peak spread is and how much load you can genuinely move.
Watch out for two things. First, do not run major appliances like a dryer or dishwasher unattended overnight if that raises any safety concern in your home; the saving never justifies a fire risk, so weigh it against the manufacturer’s guidance. Second, check that you are actually on a time-of-use plan before you rearrange your life around it, because on a flat rate all this effort saves nothing. If the spread is large and your loads are shiftable, though, this is close to free money for a little scheduling.
Step 8: Seal and insulate for the durable fix
The first seven steps change how you run the home; this one changes the home itself, and it is the durable fix that keeps paying every season. Heating and cooling cost tracks the hours your system runs, and a leaky, poorly insulated house forces those hours up because the conditioned air you paid for keeps escaping. Sealing and insulating cuts the load at its source, which is why it compounds with every earlier step.
Start cheap and reversible, then decide whether to go further. Weatherstrip doors and caulk the gaps around windows, and add door sweeps or draft stoppers where you feel air move. Those small fixes are inexpensive and can meaningfully trim the heating and cooling hours in a drafty home, an illustrative reduction of several percent of that bar. The larger structural moves, topping up attic insulation, sealing ducts, and improving windows, cost more and pay back over years rather than months, so weigh them against how long you will stay and how harsh your climate is. In a cold climate with electric heat, the payback is fastest; in a mild one, the case is weaker.
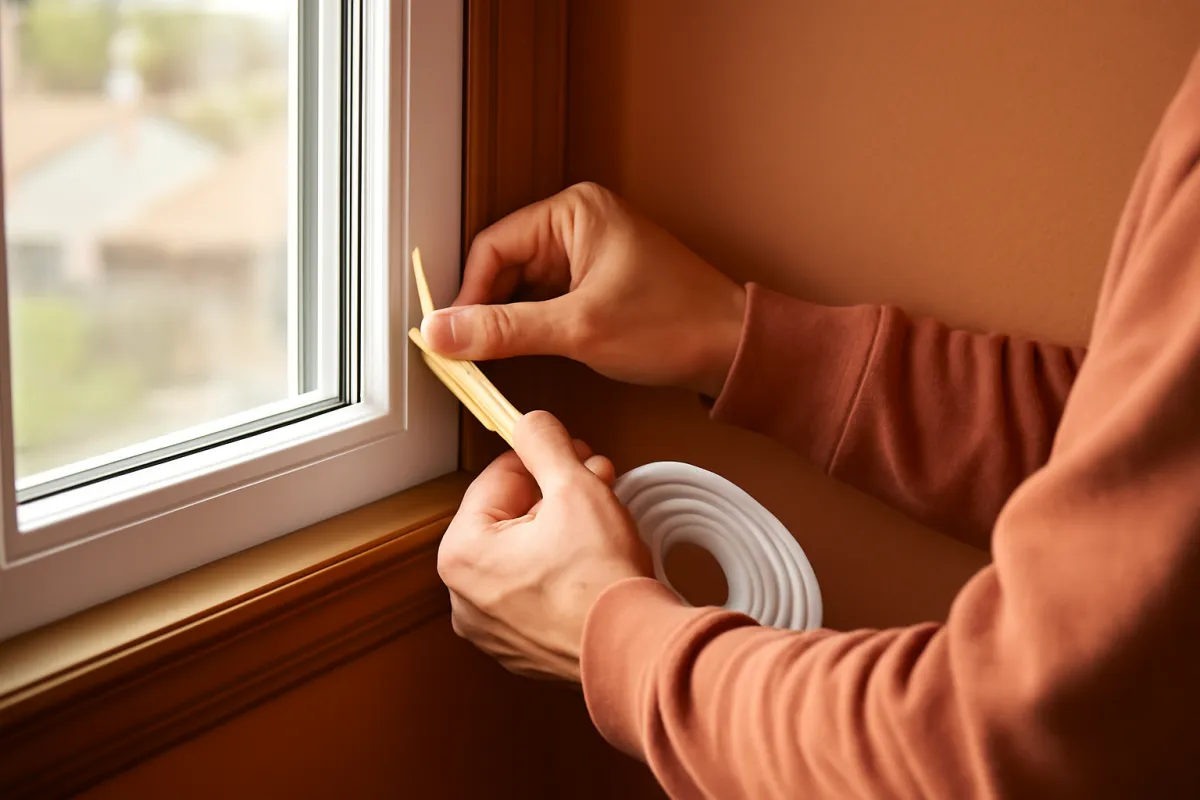
Watch out for the timeline. Unlike a thermostat setback that saves from tonight, insulation is an investment measured in seasons, so do not expect next month’s bill to drop dramatically from caulk alone. If you rent, focus on the reversible layer: removable weatherstripping, draft stoppers, and window film that peel off cleanly at move-out capture much of the benefit without a renovation. Run your target cut through the cost-per-use calculator to see the annual figure a durable HVAC reduction is worth, since a saving that repeats every heating and cooling season is where sealing earns its keep.
A worked example: cutting one household’s bill
Put the steps together on one illustrative household so the numbers connect. The home uses 900 kilowatt-hours a month at an all-in $0.16 per kilowatt-hour, for a current bill of $144. Nothing exotic is wrong; it simply runs on autopilot. The goal is a realistic 15 percent cut, about $22 a month, reached by stacking the larger steps rather than any single heroic move.
Heating and cooling plus thermostat habits (Steps 2 and 3). Raising the summer setpoint a few degrees and adding a workday and overnight setback trims the $65 cooling slice by an illustrative $10 a month. This is the largest single contribution, and it costs nothing but attention.
Water heating and laundry (Step 4). Setting the tank to the 120-degree guideline, switching to cold-water washing, and running full loads trims the water-heating and laundry cost by an illustrative $4 a month.
Phantom loads and LED (Step 5). A switchable power strip on the media cluster and LED bulbs in the most-used fixtures trim an illustrative $4 a month between them.
Fridge and always-on (Step 6). Correcting the fridge temperature, clearing the coils, and retiring a lightly used second fridge trim an illustrative $2 a month.
Off-peak shifting (Step 7). On a time-of-use plan, moving the dishwasher and laundry off peak trims an illustrative $2 a month.
Add them and the monthly saving is about $22, which is the 15 percent target, taking the bill from $144 to roughly $122 and adding up to an illustrative $264 across a year. The chart below shows how that $22 splits by action.
Savings by action on the worked example
How an illustrative $22 monthly saving splits across the steps. Segments sum to 100 percent. Illustrative.
Nearly half the saving comes from the two thermostat steps. The small bars matter, but they are cleanup on top of the HVAC win.
The shape of the split is the whole lesson repeated: the two thermostat steps deliver nearly half the total, the mid bars a solid quarter more, and the short bars round it out. A household with electric heat, an old second fridge, or a wide time-of-use spread would see its own split lean harder toward those slices and a larger total cut. Swap your monthly kilowatt-hours, rate, and target percentage into the cost-per-use calculator to see your own version of this example, in your own dollars.
Common mistakes that keep your bill high
Most bills stay high not for lack of effort but because the effort lands on the wrong bar. These are the pitfalls that quietly cancel out otherwise good intentions.
- Chasing tiny loads while ignoring heating and cooling. Unplugging chargers and swapping bulbs feels productive, but those are the short bars. A few degrees on the thermostat outsaves a drawer full of unplugged gadgets. Fix the long bar first, always.
- Over-cooling or over-heating, then buying efficiency. A high-efficiency system run at an extreme setpoint for excessive hours still costs more than a modest one run with restraint. Discipline on hours and setpoint beats a spec sheet.
- Ignoring the water heater. It is the invisible second-largest load, and because it hides in a closet it rarely gets touched. The 120-degree guideline, cold-water laundry, and shorter showers are easy wins people skip.
- Running the thermostat at one temperature around the clock. Heating or cooling an empty or sleeping house to daytime comfort is pure waste. Setbacks are the cheapest large saving available, and skipping them leaves money on the table every day.
- Assuming new gadgets pay off fast. A new fridge, a smart thermostat, or premium windows may be worthwhile, but rarely on a quick energy payback for a merely middling old unit. Price the yearly saving against the purchase before you buy.
- Judging savings in dollars without checking the rate. A percentage cut means nothing until you attach your own rate to it. The same habit change is worth twice as much on a high rate as on a low one, which is why Step 1 comes first.
Clear these and your effort flows to the bars that actually move the total, which is the difference between a bill that drops and one that does not.
Troubleshooting: when the usual fixes fall short
The eight steps cover the common case, but homes differ. Here are the edge cases and what to do when the standard advice does not fit.
What if my bill suddenly spiked? Compare kilowatt-hours, not dollars, against the same month last year, because that separates a usage change from a price change. If the units are flat but the dollars rose, the cause is your rate, perhaps a seasonal or time-of-use shift, and the fix lives in Steps 1 and 7. If the units jumped, hunt for a new or harder-working load: a heat wave that ran the air conditioner around the clock, a space heater, a newly plugged-in second fridge, or an appliance failing and stuck running. A single always-on device gone wrong can move a bill noticeably.
What if I live in an old, leaky home? The habit steps still work, but your heating and cooling bar is fatter than average, so Steps 2, 3, and 8 carry more weight. Prioritize air sealing and setbacks, since a drafty house wastes conditioned air fastest, and treat the durable insulation work as a multi-season investment rather than a quick fix. The upside is that an inefficient starting point means more room to save.
What if I rent and cannot renovate? You still hold most of the levers, because the largest savings are behavioral. Setbacks, cold-water laundry, full loads, power strips, LED bulbs, and removable draft stoppers and window film are all available to you and come off cleanly at move-out. If the landlord supplies an old refrigerator or electric baseboard heat, raise it politely, since the running cost lands on your bill even though the appliance is not yours.
What if I heat with electricity? Electric resistance heat makes the heating and cooling bar the dominant cost by a wide margin, so Steps 2, 3, and 8 become the whole game. Setbacks, zone heating the room you occupy rather than the whole house, and aggressive sealing matter far more here than any small-load step. A heat pump, where suitable, moves heat rather than generating it and can cut electric heating cost substantially, but that is an equipment decision to price carefully and, for installation, to hand to a qualified professional.
Your bill-cutting checklist
Work this list top to bottom, which is also biggest-saving to smallest. Clear it and you have captured the realistic 10 to 20 percent most homes can reach.
- Find your all-in rate. Total bill dollars divided by kilowatt-hours used. Note your monthly kilowatt-hours and whether you are on a tiered or time-of-use plan.
- Move the thermostat toward the outdoor temperature. A few degrees warmer in summer, cooler in winter, plus fans and closed blinds to hold comfort.
- Set back while away and asleep. A workday and an overnight setback, automated with a programmable or smart thermostat if it pays for your usage.
- Set the water heater to the 120-degree guideline. Add cold-water laundry, full loads, and shorter showers, and clean the dryer lint filter.
- Group idle electronics on a switchable strip and swap to LED. Start with the bulbs and clusters you use most, and do not obsess over single tiny draws.
- Tune the fridge and retire a redundant second one. Correct the temperature, clear the coils, check the seals, and unplug an unnecessary garage unit.
- Shift flexible loads off peak, if you are on a time-of-use plan. Dishwasher, laundry, and vehicle charging into the cheaper window, safely.
- Seal the drafts and insulate. Weatherstrip and caulk first, then weigh attic insulation and duct sealing as a multi-season investment.
Save the list, work one line at a time, and re-check your bill after a full cycle to see the effect land.
The bottom line
A lower electric bill is not a matter of sacrifice or gadgets; it is a matter of order. Find your all-in rate first, so every saving is priced in your own dollars, then work down the bill from the fattest bar to the thinnest. Heating and cooling is the long bar, so a few degrees on the thermostat and disciplined setbacks return more than any small fix, and on an illustrative $144 bill a stacked 15 percent cut is about $22 a month, roughly $264 a year. Water heating and the always-on refrigerator form the middle tier worth real attention, and standby power and lighting are the short bars, worth capturing but never worth chasing while the long bar runs untouched. Off-peak shifting is free money if your plan offers a spread, and sealing and insulating is the durable fix that keeps paying every season. Do the steps in that order, keep every figure tied to your own rate, and the bill stops feeling like weather and starts behaving like something you run on purpose.
A note on scope: these notes exist to hand you a working order for lowering an electric bill, not to promise any specific number. Every rate, kilowatt-hour, share, and dollar amount above is an illustrative planning figure drawn from typical ranges rather than measured on one home, and your own rate, climate, fuel, and habits will move the result enough to matter, so run your own bill through the arithmetic before you count on any saving. Nothing here is professional electrical, HVAC, or plumbing advice. Setting a water heater is a health as well as a cost decision, deep thermostat setbacks and heating changes interact with your specific equipment, and anything involving a circuit, a heating system, or wiring belongs to a qualified electrician or HVAC professional, so confirm the current guidance for your home and bring in a licensed pro for any installation or safety question before you rely on the figures in this article.
Frequently asked questions
What is the fastest way to lower my electric bill?
The fastest lever is almost always heating and cooling, because it is usually the single largest slice of a home's electricity, often near 45 percent of the bill in an illustrative breakdown. Nudging the thermostat a few degrees in the direction of the outdoor temperature and letting the house drift while nobody is home trims the hours your system runs, which is where the cost lives. On an illustrative $144 monthly bill, a handful of degrees and some setbacks can shave several dollars a month without any purchase. Find your own rate on your bill first, because every dollar figure here scales with it.
How much can I realistically save on my electric bill?
A realistic combined target for most homes is somewhere around 10 to 20 percent, reached by stacking several small habit changes rather than one dramatic move. On an illustrative $144 monthly bill at a typical $0.16 per kilowatt-hour, a 15 percent cut is about $22 a month, or roughly $264 across a year. The exact number depends entirely on your rate, your climate, and how wasteful your current habits are, so treat those figures as planning estimates and run your own with the companion calculator. Homes that start with electric heat, an old second fridge, or no thermostat setbacks usually have the most room to move.
How do I find my electricity rate?
Look on your electricity bill for a figure printed in cents per kilowatt-hour, sometimes split into a supply or generation charge and a separate delivery or distribution charge. The number that matters for planning is the all-in rate: take the total dollar amount of the bill and divide it by the total kilowatt-hours used that month, which folds in every fee and gives you the true cost of each unit. That all-in figure is usually higher than the headline supply rate alone. Once you have it, every cost estimate in these notes and in the calculator becomes specific to your home.
Does turning off standby power really save money?
Standby or phantom loads, the trickle of power devices draw while switched off or idle, are real but usually modest, commonly cited as somewhere around 5 to 10 percent of a home's electricity in total. The catch is that it is spread across dozens of tiny draws, so no single gadget is worth obsessing over. The practical win is grouping a cluster of always-idle electronics on a switchable power strip and cutting them all at once. It is a genuine saving worth capturing, but it should come after you have addressed heating, cooling, and water heating, which are far larger.
Should I lower the temperature on my water heater?
Water heating is commonly the second-largest electricity use in a home, often near 14 percent of the bill illustratively, so it is worth attention. A widely cited guideline is to set an electric tank around 120 degrees Fahrenheit, which is warm enough for comfort and generally recommended to limit the risk of harmful bacteria while avoiding the waste of superheating water you then dilute with cold. Do not set it lower than that guideline for the sake of savings, because water storage temperature is a health consideration, not just a cost one. Pair the setting with shorter showers and cold-water laundry for the fuller effect.
Is a smart thermostat worth it for lowering my bill?
A smart or programmable thermostat helps mainly by automating setbacks you might otherwise forget, so the house is not heated or cooled hard while it is empty or while everyone is asleep. The device itself is an illustrative $100 to $250 upfront, and whether it pays back depends on how much you run heating and cooling and how disciplined your manual habits already are. A household that already sets back its thermostat by hand may see little gain, while one that runs a fixed temperature around the clock can save meaningfully. Treat it as a convenience that captures a saving you could in principle get for free.
How can a renter lower an electric bill without renovating?
Renters have less control over insulation and appliances but still hold most of the habit levers, which are the ones that matter most. You can set back a thermostat, wash in cold water, run full loads, group electronics on a power strip, swap in LED bulbs, and use removable draft stoppers and window film that come off cleanly at move-out. If the unit has electric baseboard heat or an old refrigerator supplied by the landlord, those are worth a polite conversation, since the running cost lands on your bill. Focus your effort on behavior and small reversible fixes rather than anything structural.
Why did my electric bill suddenly spike?
A sudden jump usually traces to one of a few causes: a stretch of extreme weather that ran heating or cooling far more hours, a rate change or a shift onto a higher seasonal or time-of-use price, a new always-on load such as a second fridge or a space heater, or a billing quirk like an estimated read being corrected. Start by comparing the kilowatt-hours used, not just the dollars, against the same month last year, because that separates a usage change from a price change. If usage is flat but the dollars rose, the cause is the rate; if usage jumped, hunt for the new or harder-working load. A failing appliance stuck running can also be the culprit.