What's on this page
- Why washing machines get smelly and moldy
- Before you start
- Step 1: Gather your supplies and pick a cleaner
- Step 2: Clean the drum with a hot cleaning cycle
- Step 3: Clean the gasket and door seal
- Step 4: Clean the detergent drawer and dispenser
- Step 5: Clean the filter and drain pump
- Step 6: Wipe the exterior and set a schedule
- Front-load vs top-load vs HE: what differs
- How often to clean a washing machine, part by part
- Preventing mold: the habits that keep a washer fresh
- A worked example: a full washer deep clean
- Common mistakes when cleaning a washing machine
- Troubleshooting: harder washer cleaning calls
- When to call a pro
- Your washing machine cleaning checklist
- The bottom line
Short answer: Clean a washing machine in six steps: gather supplies and pick a cleaner, run a washing machine cleaner or vinegar on the hottest empty cycle, wipe the rubber door gasket and its folds, clean the detergent drawer, clean the filter and drain pump, then wipe the exterior and set a schedule. Never mix bleach with vinegar. Stop the musty smell returning by leaving the door open to dry and wiping the gasket after each wash.
Learning how to clean a washing machine is the fix for the one problem no wash cycle solves on its own: a machine that comes to smell of damp, mildew, or worse even though its whole job is to make things clean. Water, detergent, softener, body oils, and lint cycle through the drum every load, but nothing scrubs the machine itself, so a slimy film called biofilm slowly coats the surfaces the water never fully rinses. It collects in the folds of the rubber door gasket, in the detergent drawer, on the drum below the water line, and in the drain filter, and once it takes hold it feeds a musty smell that transfers straight onto supposedly clean laundry.
These notes give you a step-by-step method for cleaning a washing machine properly, from a hot cleaning cycle that flushes the biofilm to the gasket, drawer, and drain filter that a cycle can never reach, so it drains clear, smells fresh, and stops passing odor to your clothes. Every step is something you can do yourself in a few minutes with a washing machine cleaner or plain white vinegar. For the running-cost side of the same appliance, see our washing-machine running-cost report, and for how this fits your whole-home routine, our eight-point appliance maintenance plan. Feed your machine type and loads per week into the cleaning-schedule planner as you read, and it will tell you how often to run each step.
Key takeaways
- A washer that smells musty is almost never broken, it is dirty: biofilm from detergent residue, body oils, and bacteria builds where the wash water never fully rinses.
- The whole job is six steps: gather supplies and pick a cleaner, run a hot drum cycle, clean the gasket and door seal, clean the detergent drawer, clean the filter and drain pump, then wipe the exterior and set a schedule.
- Front-loaders smell more than top-loaders because the rubber door gasket traps water and residue in its folds, so the gasket wipe is the highest-value habit on those machines.
- Run a washing machine cleaner or vinegar on the hottest empty cycle, and never mix bleach with vinegar in the same cycle, which releases a harmful gas.
- Prevent the smell coming back by leaving the door and drawer open to dry, wiping the gasket after each wash, and not overdosing detergent or softener.
Why washing machines get smelly and moldy
Before you start cleaning, it helps to know what you are actually removing, because a washer collects several different kinds of grime and each responds to a different step. The core problem is biofilm: a thin, slimy layer of detergent and fabric softener residue, body oils, dead skin, and the bacteria that live on all of it. It forms wherever the wash water sits without fully rinsing away, which on most machines means the door gasket, the detergent drawer, the underside of the drum, and the drain filter and hose. Cold washes and excess detergent both feed it, because low temperatures never kill the bacteria and leftover residue gives them a permanent food supply. The stacked bar below shows an illustrative breakdown of what builds up inside a neglected washer.
What builds up inside a washing machine
An illustrative split of the grime that collects in a neglected home washer. Segments sum to 100 percent. Your mix varies by machine type, detergent habits, and water.
Residue and the biofilm it feeds are the biggest slices, which is why a hot cleaning cycle and dosing detergent correctly do most of the work. Scale grows with hard water. The split is illustrative and shifts by home.
The shape of that split is the whole strategy in one picture. The two biggest slices, residue and the biofilm it feeds, are exactly what a hot cleaning cycle and correct detergent dosing target, which is why those do most of the heavy lifting. Trapped water in the gasket and drawer is the front-loader problem: on those machines it is where the visible mold and the worst smell start, which is your cue to wipe and air-dry those spots by hand. Hard-water scale is the wildcard that grows large in a hard-water area and thin in a soft one. Lint and fibre debris is the finishing job that the drain filter handles. Keep that ranking in mind as you work the six steps, because it tells you where to spend your effort and why no single cleaner does everything.
Before you start
This is a hands-on but genuinely low-skill task. Nothing in the six steps requires a tool you do not already own or any appliance knowledge beyond reading your manual. Plan on about an hour and a half start to finish for a full deep clean, though most of that is the cleaning cycle running while you do something else, so your hands-on time is closer to twenty minutes. The difficulty is beginner: if you can wipe a rubber seal and pull a filter, you can do all of it. The one part that varies by machine is the drain pump filter, which front-loaders have and many agitator top-loaders do not, so check your manual for what yours has.
Gather a small, ordinary kit before you begin so you are not stopping mid-job to hunt for something.
- A washing machine cleaner or white vinegar, the two workhorse options for the drum cycle, plus baking soda if you want an extra deodorizing pass.
- A soft brush or old toothbrush, for the gasket folds, the drawer, and the filter debris.
- Microfiber cloths and a spray bottle, one to wipe the gasket and drawer, filled with warm soapy water or a diluted cleaner.
- A shallow tray and old towels, to catch the water that comes out when you open the drain filter.
- Your appliance manual, or the model number to look it up, since the manual is the authority on whether vinegar suits your seals and where your filter lives.
Two ground rules keep the job safe and effective. First, run the cleaner or vinegar on the hottest empty cycle, and never mix bleach with vinegar or any acid in the tub, since together they release a harmful gas. Second, empty the machine completely before you start, because you are cleaning the machine, not a load of laundry, and anything left inside just gets in the way. With your kit assembled and the drum empty, start with the cycle that flushes the biofilm out of the parts you cannot reach.
Step 1: Gather your supplies and pick a cleaner
The first step is the setup that makes the rest go smoothly, and the one real decision is which cleaner to run through the drum. You have three common choices, and any of them works. A dedicated washing machine cleaner, sold as tablets or liquid, is formulated to break down biofilm and residue and is often the best pick for a machine that already smells or has visible film. White vinegar, about two cups, is the household option that cuts soap film and light scale for a lower cost. Baking soda, about half a cup, adds a deodorizing pass and is usually run alongside or after the main cleaner rather than on its own.
Empty the drum completely and check the pockets of anything left inside, then confirm which cleaner you are using and read its directions, since some machine cleaners go in the drum and some in the detergent drawer. Lay your cloths, brush, tray, and towels within reach. Watch out for one thing before you commit to vinegar: check your appliance manual, because a number of manufacturers advise against vinegar on the grounds that the acid can affect certain rubber seals and hoses over many cycles. If yours is one, use a dedicated cleaner instead. With the drum empty and your cleaner chosen, run the cycle that does the deepest work.
Step 2: Clean the drum with a hot cleaning cycle
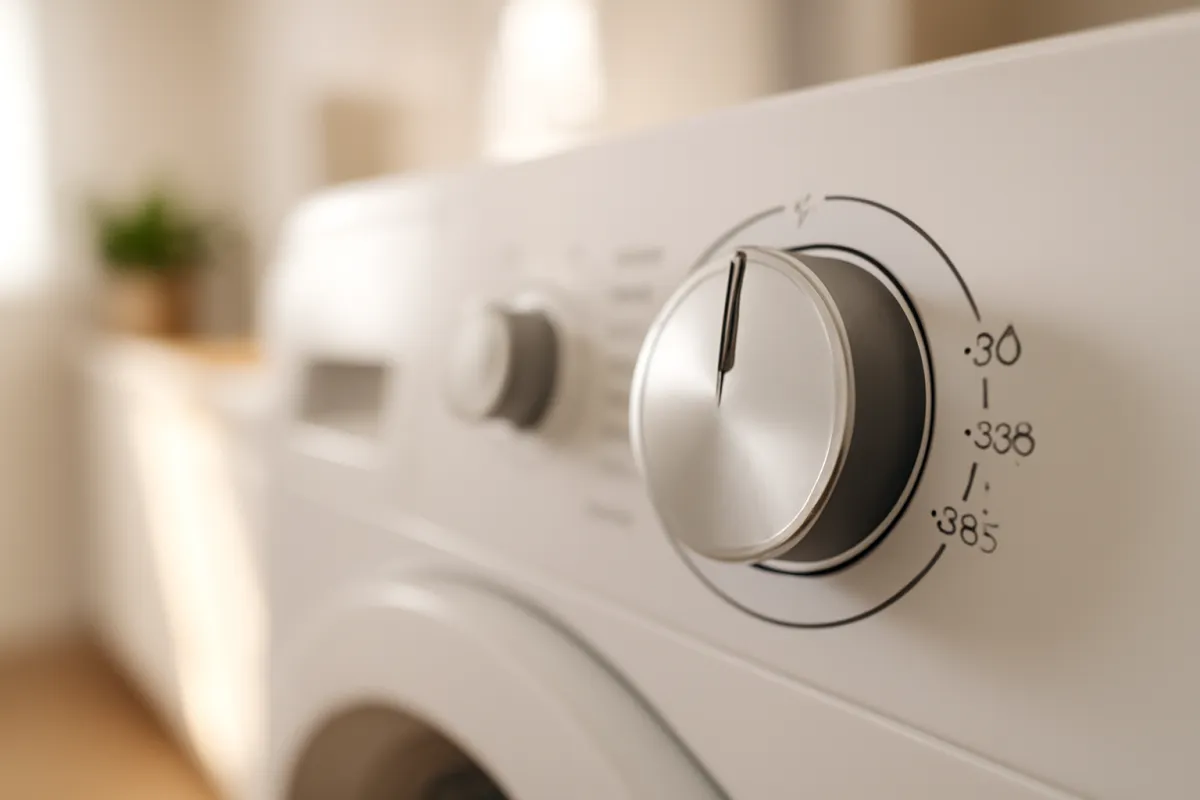
The drum cycle is the heart of the whole job, because a hot wash with a cleaner is the only thing that reaches the surfaces, hoses, and outer tub your hand never touches. Heat is what matters most here: the biofilm and bacteria that cause the smell survive cold washes, so this cycle needs the hottest water your machine offers to kill and flush them. If your machine has a dedicated tub clean, self clean, or drum clean cycle, use it, since it runs hotter and longer than a normal wash. If it does not, select the hottest normal or heavy cycle with an extra rinse.
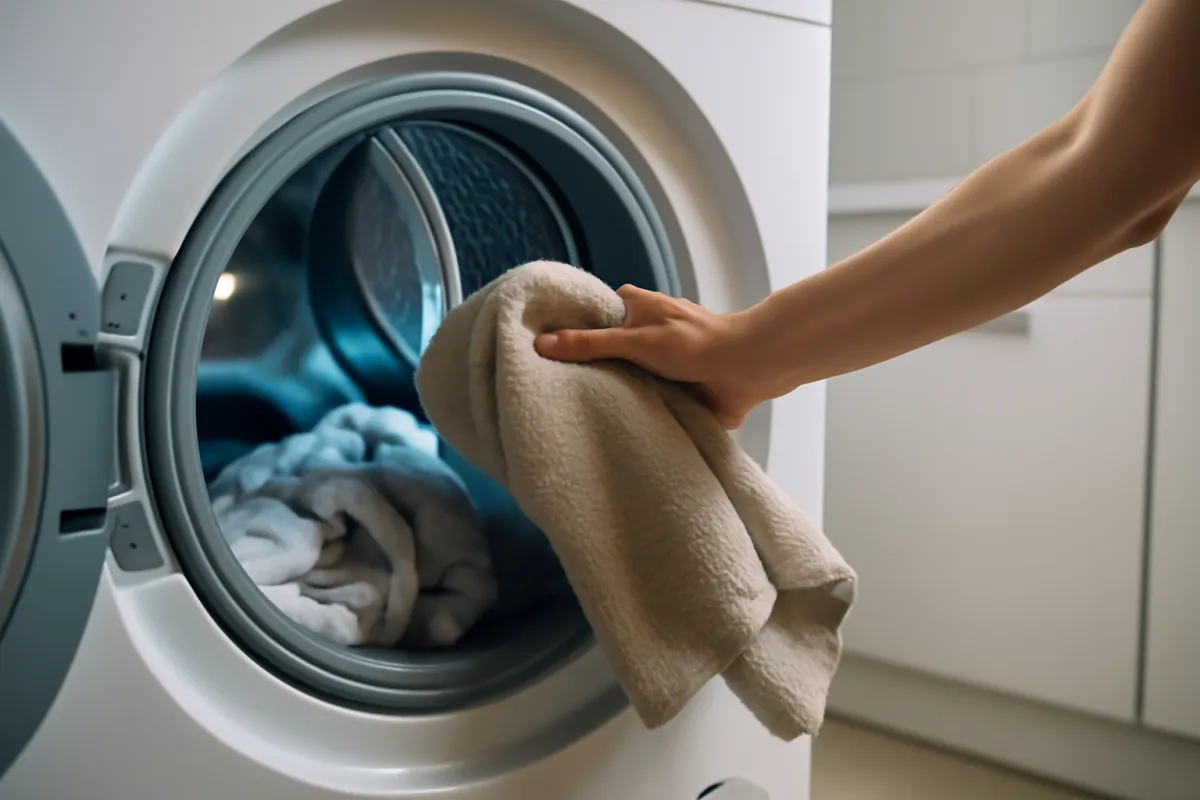
Add your cleaner the way its directions specify, then start the empty cycle. If you are using vinegar, pour about two cups into the drum, or into the detergent drawer if your manual prefers, and optionally sprinkle half a cup of baking soda in the drum for a deodorizing boost. Let the full hot cycle run. When it finishes, many machines benefit from a second short rinse cycle to flush any loosened residue and cleaner out completely. An illustrative guide is to run this cleaning cycle about once a month, and more often, perhaps every two weeks, if you wash mostly cold, use fabric softener, or already notice a smell.
Watch out for the safety point that matters most in this whole job: never add bleach to a cycle that also has vinegar. Bleach and an acid together release chlorine gas, which is harmful to breathe, so run each cleaner alone. If you prefer a bleach-based cycle because your manual specifically allows it, do it as its own separate hot run with nothing else added, and never in close succession with vinegar. For how a hot cycle affects what the machine costs to run, see our washing-machine running-cost report.
Step 3: Clean the gasket and door seal
The drum cycle handles the surfaces the water reaches, so the next steps target the spots it never does, and on a front-loader the most important of those is the rubber door gasket. This flexible boot seals the front door, and its folds trap water, lint, hair, and residue in a dark, damp pocket that never dries, which is exactly where front-load smells and visible black mold start. No cleaning cycle reaches inside those folds, so this is hand work, and it is the single highest-value job on a front-load machine. Peel the folds back gently and look inside: you will usually find gray or black grime, trapped lint, and sometimes standing water and small objects.
Wipe the folds out with a cloth dipped in warm soapy water or a diluted cleaner, working all the way around and into the creases. Pay attention to the bottom of the gasket, where water pools, and to the small drain holes there that can clog. For visible mold staining, scrub a paste of baking soda and water into the rubber with a soft brush, let it sit a few minutes, then wipe it clean, though be honest with yourself that deep-set black staining in old rubber may lighten rather than vanish. Dry the folds thoroughly afterward. Top-load machines have no front gasket, but you should still wipe the rim and the underside of the lid where residue collects. Avoid undiluted bleach or harsh abrasives, which can degrade the rubber and shorten the gasket’s life.
Step 4: Clean the detergent drawer and dispenser
With the gasket done, turn to the detergent drawer, the second big hiding spot for residue and mold on almost every machine, front-load or top-load. Detergent, fabric softener, and water sit in the drawer and its housing between loads, and softener in particular leaves a thick, sticky film that grows a slimy pink or black buildup over time. Because the drawer is a low, damp, poorly rinsed pocket, it is a common source of a smell people wrongly blame on the drum. Most drawers pull all the way out: look for a release catch, usually a tab you press in the softener compartment, then slide the whole drawer free.
Wash the removed drawer in warm soapy water, using a brush to clear the softener compartment and the siphon cap, which is the little part that meters softener and clogs with sticky residue. Then look into the empty drawer housing in the machine with a flashlight, because the roof of that cavity often has black mold and slime that the drawer hid. Wipe or brush the housing out, reaching up to the top where the water jets in. Rinse and dry the drawer, then slide it back. Watch out for the siphon cap and the softener channel specifically: they are the parts most likely to be caked, and a blocked siphon is why softener sometimes stops dispensing. Cleaning the drawer monthly, and using less softener, keeps this spot from becoming a problem.
Step 5: Clean the filter and drain pump
The next spot is one many people never knew existed: the drain pump filter, found on most front-loaders and some top-loaders behind a small hatch at the bottom front of the machine. Its job is to catch coins, lint, hair clips, and debris before they reach the pump, and over time it clogs with a foul-smelling sludge of lint and grime that can slow draining and add to the odor. Cleaning it is a five-minute job, but it comes with a warning: there is standing water behind that filter, so preparation matters. Lay old towels and a shallow tray on the floor in front of the hatch first, because water will run out when you open it.
Open the hatch, and if there is a small drain hose tucked beside the filter, use it to drain the water into your tray first. Then twist the filter cap counterclockwise slowly to let the remaining water out gradually, and once it stops, pull the filter fully. Clear the trapped debris, rinse the filter under a tap, brush the mesh clean, and check the empty filter cavity for anything left behind. Seat the filter firmly and close the cap fully, because a loose filter leaks. Check your manual for the exact location and any model-specific steps, since designs vary and many agitator top-loaders have no user-serviceable filter at all. Clean this filter every few months, and sooner if the machine drains slowly, because a blocked filter is a common hidden cause of both odor and poor draining.
Step 6: Wipe the exterior and set a schedule
The deep clean is done, so the last step protects it: finish the outside and turn the whole routine into a rhythm you will actually keep. Start with the exterior. Wipe the door front, the glass, and the control panel with a damp microfiber cloth, since splashes and fingerprints collect there. If the front is stainless or a glossy finish, wipe along the surface and avoid abrasive pads that scratch. Clean the top of the machine and the small gap around the door where lint and drips settle, and wipe the inside of the door glass on a front-loader, where a film of residue builds up.
Then build the schedule, because the six steps only pay off if they happen on a rhythm rather than once a year in a panic. The trick is to sort each job by how fast the mess it fights builds up and attach it to a trigger you will not forget. Make wiping the gasket dry and leaving the door and drawer open an after-every-wash habit. Slot the hot cleaning cycle and a full drawer clean to the first of the month. Reserve the drain filter for every few months, and a deep inspection of the hoses for twice a year. Watch out for the classic failure, which is not the doing but the remembering, so lean on a recurring phone reminder. Set your machine type and loads per week in the cleaning-schedule planner to get a starting read on how often your machine needs each step.
Front-load vs top-load vs HE: what differs
The six steps apply to every washer, but which spots matter most depends on your machine type, and this is where a lot of confusion about washer smells comes from. Front-load machines are the most odor-prone by a clear margin, and the reason is the door gasket, that rubber boot which traps water and residue in folds air cannot dry. Front-loaders also use less water and often wash cooler, which leaves more concentrated residue for bacteria. On these machines the gasket wipe, the leave-the-door-open habit, and the drain filter are the jobs that matter most, and skipping them is why a front-loader develops a smell that a top-loader of the same age never does.
High-efficiency top-loaders sit in the middle. They have no front gasket, which removes the worst hiding spot, but they still use less water than an old agitator machine, so residue and biofilm can still build on the drum and in the drawer, and they benefit from the same monthly hot cycle. Traditional top-load agitator machines are the least odor-prone: they hold the most water, wash warmer on average, and have no gasket, so they smell least often, though the drawer and drum still collect residue and should be cleaned. Many agitator machines have no drain pump filter, so Step 5 may not apply to yours. The takeaway is that a front-loader is not a worse machine, it just asks for a couple of extra habits, and once those are routine the type difference nearly disappears. Our eight-point appliance maintenance plan covers how those habits fit alongside the rest of your home.
How often to clean a washing machine, part by part
The most useful way to hold the whole routine in your head is as a small set of jobs, each on its own interval, matched to how fast the mess it fights builds up. The table below lays out each part of the machine, how to clean it, and a starting frequency you can adjust for your own machine and water. Treat every interval as illustrative, because your machine type, detergent habits, water hardness, and load count all move it.
| Part | How to clean it | How often |
|---|---|---|
| Drum and outer tub | Hot empty cycle with a cleaner or vinegar, plus an extra rinse | About monthly |
| Door gasket (front-load) | Peel back the folds, wipe out with soapy water, dry afterward | Wipe after each wash, deep clean monthly |
| Detergent drawer | Remove and wash the drawer, brush the siphon cap, clean the housing | About monthly |
| Drain pump filter | Drain the water, pull the filter, clear debris, rinse and reseat | Every few months |
| Dispenser and softener channel | Flush with hot water, brush out sticky residue | About monthly |
| Door glass and exterior | Wipe with a damp microfiber cloth | Weekly |
| Fill and drain hoses | Inspect for kinks, leaks, and buildup | Twice a year |
The pattern in that table is the point: the jobs that fight fast-building residue and trapped water come round often, while the deep inspection jobs are rare. If you only remember two lines, make them the after-each-wash gasket wipe and the monthly hot cycle, because together they prevent most of what the other jobs have to fix. Set your machine type and loads in the cleaning-schedule planner to turn these starting intervals into a rhythm sized to your home.
Preventing mold: the habits that keep a washer fresh
Cleaning removes the buildup, but prevention is what stops it coming back, and on a washer prevention is cheaper and easier than the cleaning it replaces. The single most effective habit is to let the machine dry between washes. After each load, leave the door ajar and pull the detergent drawer open a little so air can circulate and the gasket, drum, and drawer dry out instead of sitting damp. A washer that dries between loads simply cannot grow the biofilm that causes the smell, because the bacteria need standing moisture to live. On a front-loader, also wipe the gasket folds dry with a cloth after the last wash of the day, since that fold is the one spot that stays wet longest.
The second habit is dosing. Overdosing detergent and fabric softener is one of the most common causes of a smelly washer, because the excess never rinses away and becomes the residue that feeds the biofilm. Use the amount the label recommends for your load size and soil level, not a full cap by default, and use an HE detergent if your machine calls for one, since HE formulas are made to rinse cleanly in low water. Cut back hard on liquid fabric softener, which leaves an especially sticky film, or switch to wool dryer balls. Two more small habits help: move wet laundry out of the drum promptly rather than leaving it to sit, and run an occasional hot wash rather than only cold ones, since heat keeps the bacteria in check. None of these habits cost anything, and together they are the difference between a washer you clean occasionally and one you fight constantly.
A worked example: a full washer deep clean
Put the six steps together on one illustrative afternoon so you can see how the routine flows. Picture a household with a front-load machine that runs about five loads a week, mostly on cold, with a regular splash of fabric softener, and that has not been deep-cleaned since it was installed a year ago. Lately the clean laundry has carried a faint musty smell, and there is visible gray grime in the folds of the door gasket, the two classic signs that biofilm has taken hold and the gasket is holding damp residue. This is a full catch-up clean that sweeps up every step.
The run starts with the cycle that does the deepest work. The drum is emptied, a washing machine cleaner tablet goes in, and the machine runs its hottest tub-clean cycle, followed by a short rinse to flush the loosened residue. While that runs, the hand work begins. The gasket folds are peeled back and wiped out, lifting a gray film and a surprising amount of trapped lint, and a baking soda paste scrubs the worst of the mold staining. The detergent drawer pulls free and gets washed in the sink, where the softener compartment turns out to be caked with sticky pink residue, and the drawer housing above it, checked with a flashlight, hides black slime that gets brushed out.
Then the drain filter, opened over a tray of towels, releases a cup of foul water and a plug of lint and a stray coin, all cleared and the filter reseated. The glass and exterior are wiped, and the household sets two reminders: a monthly one for the hot cycle and drawer clean, and a daily habit of leaving the door and drawer open with a quick gasket wipe. By the end, the musty smell is gone from the next load, and the fix that mattered most was less the cleaner than the new habit of letting the machine dry. None of these numbers are measured on any specific machine; they are an illustrative walkthrough, and your own type, loads, and buildup will differ. The value is the sequence: run the hot cycle, clean the gasket and drawer the cycle cannot reach, clear the filter, then prevent.
Common mistakes when cleaning a washing machine
Most washer trouble traces back to a small number of avoidable habits rather than a failing machine. These are the pitfalls that quietly keep a washer smelly or, in one case, create a real hazard.
- Never leaving the door open. Closing the door after every wash traps moisture and is the number one reason front-loaders grow mold. Leave the door and drawer ajar so the machine dries between loads.
- Ignoring the gasket and drawer. These sit outside the wash, so no cycle cleans them, and the trapped residue and mold there cause a smell that survives every hot cycle. Wipe the gasket folds and clean the drawer by hand.
- Overdosing detergent and softener. Too much of either leaves residue that becomes the biofilm behind the odor, especially on HE machines. Dose to the label for your load, and go easy on softener.
- Only ever washing cold. Cold washes save energy but never kill the bacteria, so a machine run only cold builds biofilm faster. Mix in an occasional hot wash and the monthly hot cleaning cycle.
- Mixing bleach and vinegar. Combining an acid and bleach releases a harmful gas. Run each cleaner on its own separate cycle, never together or in close succession.
- Forgetting the drain filter. A clogged filter causes odor and slow draining and is easy to overlook because it is hidden behind a hatch. Clear it every few months.
Clear these six and you have removed the causes behind almost every smelly-washer complaint, at the cost of a couple of habits and one cycle a month.
Troubleshooting: harder washer cleaning calls
The six steps cover routine cleaning, but some situations need a judgment call. Here is how to think through the common ones without guessing.
What if the smell survives a full deep clean? Go back to the parts that hold water outside the wash. Re-check the gasket folds and their drain holes, pull and re-clean the detergent drawer housing, and clear the drain filter again, since a filter cleaned too gently still holds sludge. If the gasket, drawer, filter, and a hot cycle are all genuinely clean and the smell persists, it can point to residue trapped deep in the outer tub or a drain hose issue, which is where the problem likely lives and may need a technician.
What if there is black mold staining the gasket that will not come out? Biofilm and light mold wipe away, but mold that has grown into the pores of old rubber can stain permanently even after the living mold is killed. Scrub with a baking soda paste and a diluted cleaner to remove what you can, then focus on prevention so it stops spreading. If the rubber is degraded, torn, or the staining is severe, the gasket itself can be replaced, which is a repair worth pricing against the machine’s value.
What if my manual says not to use vinegar? Follow the manual over any general tip, since some manufacturers advise against vinegar on the grounds it can affect certain seals over time. Use a dedicated washing machine cleaner instead, which does the same biofilm-clearing job, and still run it on the hottest cycle. The method, hot cycle then hand-clean the gasket, drawer, and filter, stays the same; only the product in the drum changes.
What if the machine will not drain or drains slowly? Standing water in the drum is a drainage issue, and the drain filter is the first thing to check, since a clogged filter is the most common cause. Clear the filter, confirm the drain hose is not kinked or clogged, and check that it is not pushed too far down the standpipe. If the water still will not clear after those checks, that is a mechanical or pump issue worth a closer look rather than more cleaning.
When to call a pro
Cleaning solves odor, film, and mold, but it is worth being clear about where a cleaning session ends and a repair begins, because forcing a mechanical problem to be a cleaning problem wastes time and can make things worse. Call a qualified appliance technician when the symptom points past dirt. A machine that will not drain after you have cleared the filter and checked the hose, a leak from the door or underneath, a burning or hot-electrical smell, or grinding, knocking, and loud banging that a balanced load does not fix are all signs of a mechanical or electrical fault, not a dirty machine. None of those are jobs to solve with vinegar.
Some cleaning-adjacent jobs also cross into pro territory. A persistent smell that survives a full deep clean can come from residue trapped deep in the sealed outer tub, which a homeowner cannot easily reach, or from a plumbing and drain issue behind the wall. Replacing a badly degraded gasket is doable for a confident DIYer on some models but is a technician job on others. Anything involving the pump, the bearings, the wiring, or the sealed tub is a technician’s job, full stop, both because the repair needs the right parts and because a washer combines water and mains electricity. The honest rule is that cleaning is for smell, film, lint, and mold, and a pro is for water that will not move, parts that grind, and anything electrical.
Your washing machine cleaning checklist
Save this list and work it by interval. Clearing it keeps the machine washing without odor and stops mold before it starts. The chart below groups the routine by frequency so you can see that most of the work is quick and constant while the deep jobs come round far less often.
Washing machine cleaning tasks by frequency
An illustrative count of washer cleaning jobs that fall into each interval. Bars scale with the number of tasks. Your list varies by machine type and water.
Only the fast-building jobs, leaving the door open and wiping the gasket, are after every wash. The hot cycle and drawer clean come round monthly. The drain filter and hose inspection are rare. Counts are illustrative.
Turn that grouping into a routine you can keep:
- After every wash: leave the door and detergent drawer ajar to dry, and wipe the gasket folds dry on a front-loader.
- Weekly: wipe the door glass, control panel, and exterior with a damp cloth.
- Monthly: run a hot cleaning cycle with a cleaner or vinegar, and remove and clean the detergent drawer and its housing.
- Every few months: open and clean the drain pump filter, catching the water in a tray.
- Twice a year: inspect the fill and drain hoses for kinks, leaks, and buildup, and do a deeper gasket and tub check.
- Every load, as prevention: dose detergent and softener to the label, not by the capful, and move wet laundry out promptly.
Set your machine type and loads per week in the cleaning-schedule planner to see how often your machine needs each step, then work the list one interval at a time.
The bottom line
Cleaning a washing machine is not a specialist job or an expensive one; it is six simple steps done on a rhythm that stops a self-cleaning myth from turning into a machine that smells of mildew and passes it to your clothes. Run a hot cleaning cycle to flush the biofilm from the drum and hoses, wipe out the gasket folds and the detergent drawer the water never reaches, clear the drain filter, wipe the exterior, then leave the door open and dose detergent correctly so it does not come back. The gasket wipe and the leave-the-door-open habit are what matter most on a front-loader, the hot cycle is what matters most on any machine, and bleach never meets vinegar. Do that on an after-each-wash and monthly rhythm matched to your machine and your loads, and the washer goes back to doing the one thing you bought it for: making laundry clean and fresh, without a smell of its own.
A note on scope: these notes exist to hand you a repeatable routine for cleaning a home washing machine, not to promise any specific result, saving, or lifespan. Every interval and figure above is an illustrative planning number drawn from typical guidance rather than measured on one machine, and your own machine type, water hardness, detergent habits, and manufacturer instructions will change what and how often you should do each job, so treat your appliance manual as the authority, especially on whether vinegar suits your seals and where your drain filter lives. Nothing here is professional advice. Run cleaning products one at a time and never combine bleach with vinegar or any acid, since that releases a harmful gas, and if a problem points to draining, leaking, a burning smell, or a mechanical fault rather than dirt, stop and call a qualified appliance technician.
Frequently asked questions
How often should I clean my washing machine?
Match each job to how fast the mess it fights builds up rather than one blanket rule. Run a hot cleaning cycle, with a washing machine cleaner or vinegar, roughly once a month, and more often if you use fabric softener, wash in cold water, or run heavy loads. Wipe the door gasket and leave the door and detergent drawer open after every wash, since trapped water is what grows the mold. Clean the drain pump filter every few months on a front-loader, and clean the detergent drawer fully about monthly. The honest answer is that the interval depends on your machine type, water hardness, detergent habits, and how many loads you run, so treat any schedule as a starting point and shorten it the moment you smell or see buildup starting.
Why does my washing machine smell even though it washes clothes?
A washer smell almost always traces to biofilm, a slimy layer of detergent residue, body oils, and bacteria that builds where the wash water never fully rinses. The usual hiding spots are the rubber door gasket on a front-loader, the detergent drawer, the drum surfaces below the water line, and the drain filter and hose. Cold washes and too much detergent or fabric softener feed it, because low temperatures and leftover residue give the bacteria something to live on. The fix is a hot cleaning cycle to kill and flush the biofilm, hand cleaning of the gasket and drawer where a cycle cannot reach, and the prevention habits of leaving the door open and dosing detergent correctly so it stops coming back.
Can I use vinegar to clean my washing machine?
Yes, white vinegar is a common household option because it is a mild acid that helps cut soap film and light mineral scale, and a hot empty cycle with a couple of cups of it is a workable descaling and freshening run. That said, a dedicated washing machine cleaner is formulated for the job and is often the better choice for heavy biofilm, and some manufacturers advise against vinegar because the acid can, over many cycles, affect certain rubber seals and hoses. Check your appliance manual first and follow it over any general tip. Whichever you use, run it on the hottest cycle and never mix it with bleach in the same cycle, since bleach and an acid together release a harmful gas.
How do I clean the rubber gasket on a front-load washer?
The rubber door boot on a front-loader is the single most important spot, because it traps water, lint, and grime in its folds and is where most front-load smells and visible mold start. Peel back the folds of the gasket gently and wipe them out with a cloth dipped in warm soapy water or a diluted cleaner, working into the creases and the drain holes along the bottom where water pools. For visible mold staining, a paste of baking soda and water scrubbed in with a soft brush lifts much of it, though deep-set black staining in the rubber may not fully disappear. Dry the folds afterward, and going forward wipe the gasket dry after each wash and leave the door ajar so it can air out. Avoid harsh abrasives or undiluted bleach that can degrade the rubber.
Where is the filter on a washing machine and how do I clean it?
Most front-loaders and some top-loaders have a drain pump filter, usually behind a small hatch at the bottom front of the machine, that catches coins, lint, and debris before they reach the pump. To clean it, lay a shallow tray and towels down first because water will come out, twist the filter cap counterclockwise, let the water drain, then pull the filter and clear the trapped debris under a tap. Reseat it firmly so it does not leak. Check your manual for its exact location and removal, since designs vary and many agitator top-loaders do not have a user-serviceable filter at all. A clogged filter can cause slow draining and odor, so cleaning it every few months is worth the five minutes.
Is a front-load washer harder to keep clean than a top-loader?
Front-loaders are more prone to odor and mold, and the main reason is the door gasket, a rubber boot that seals the front door and traps water, lint, and residue in its folds where air cannot dry it. They also use less water and often wash cooler, which leaves more concentrated residue for bacteria to feed on. Top-load agitator machines have no front gasket and hold more water, so they smell less often, while high-efficiency top-loaders sit in between. None of this makes a front-loader a bad choice, but it does mean the gasket wipe and the leave-the-door-open habit matter far more on a front-loader. Clean any washer on a schedule and the type difference shrinks to a habit or two.
Am I using too much detergent, and does that cause the smell?
Overdosing detergent is one of the most common causes of a smelly washer, especially on high-efficiency machines that use little water. Extra detergent does not rinse away fully, so it leaves a residue on the drum, drawer, and gasket that feeds the biofilm and bacteria behind the odor. Modern HE detergents are concentrated, and the cap lines often suggest more than a normal load needs, so many people use two or three times the amount required. Try dosing at or below the line for your load size and soil level, use an HE detergent if your machine calls for one, and cut back on fabric softener, which is especially prone to leaving a sticky film. Less residue means less to clean and far less smell.
When should I call a professional about a washing machine problem?
Cleaning fixes odor, film, and mold, but some problems point past dirt to a mechanical or plumbing fault that a cleaning cycle will not solve. Call a qualified appliance technician if the machine will not drain after you have cleared the filter and checked the hose, if it leaks, if a burning or electrical smell appears, or if you hear grinding or loud knocking that a balanced load does not fix. A persistent smell that survives a full deep clean, the gasket, drawer, filter, and a hot cycle, can indicate residue trapped deep in the outer tub or a drain issue that needs a pro. Any repair involving the pump, bearings, wiring, or the sealed tub is a job for a technician, not a DIY cleaning session.